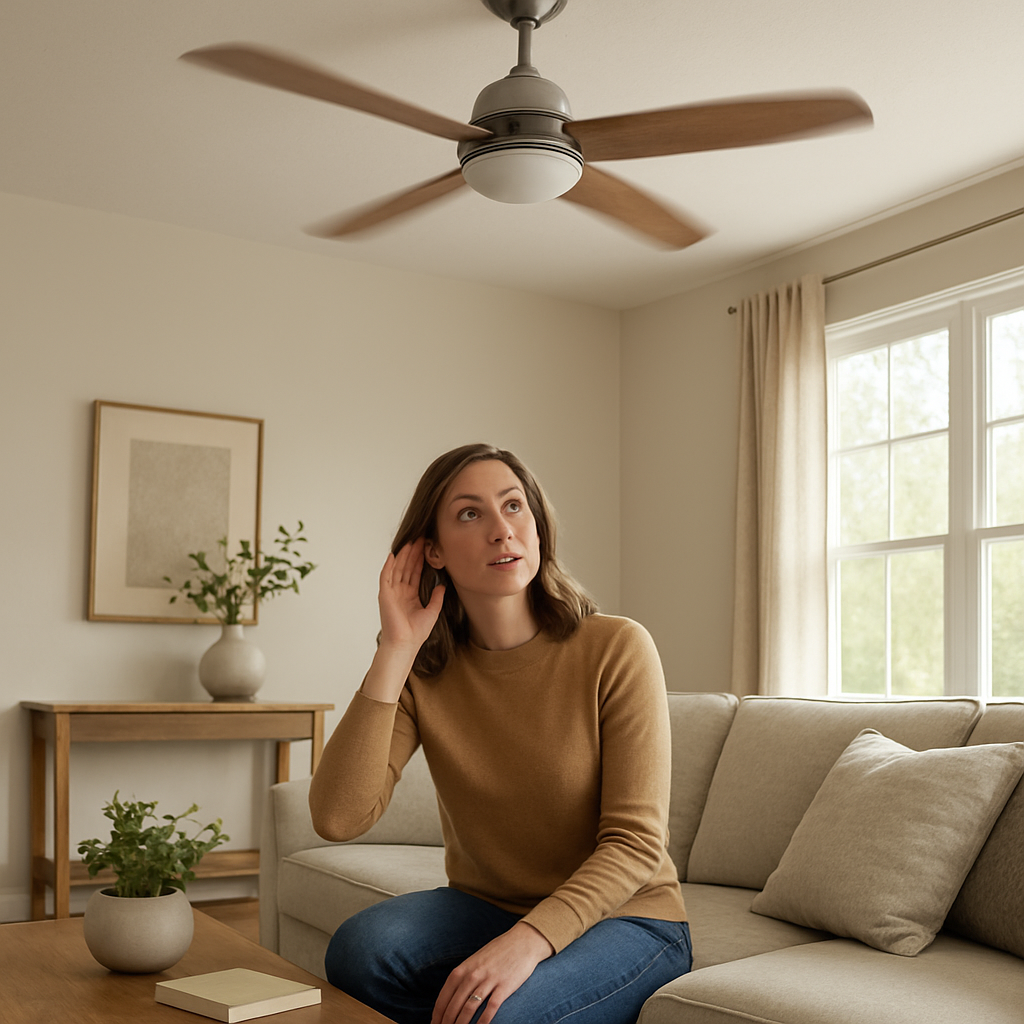
Ceiling Fan Rattling Noise? Fast Causes & Easy Fixes That Work
Quick Answer (Most Likely Cause)
The most common reason a ceiling fan rattles is loosened blade screws, blade brackets (blade irons), or a canopy/trimming ring that’s vibrating at motor speed and tapping metal-to-metal. Turn the fan off, wait for the blades to stop, then snug the blade-to-bracket screws and bracket-to-motor screws, and reseat the canopy/trim ring so it can’t chatter. If the fan wobbles hard or the ceiling box moves, stop and schedule a technician.
Identify the Noise First
Rattling is usually a vibration problem, not a failed motor. Use these quick behavior checks to pinpoint whether screws/brackets/canopy parts are resonating with the motor’s rotation.
At startup only: A slightly loose canopy ring or bracket can chatter as the motor ramps up, then quiet once speed stabilizes.
Steady running (all speeds): Often blade screws or blade brackets that have backed out evenly, creating constant metal-on-metal vibration.
High speed is worse: Classic sign of a loose blade bracket to motor screw or loose blade screws that only “buzz” when vibration amplitude increases.
Intermittent rattle: A trim ring, canopy cover, or small hardware washer that occasionally shifts and taps as the fan’s vibration changes.
After installation: Hardware may not be fully seated or screws weren’t tightened after the fan settled into position.
After cleaning: The canopy may have been bumped, or a blade screw may have been disturbed while wiping blades.
Speed-specific resonance: A particular speed causes a “fast tick/rattle” when a slightly loose part hits its natural vibration frequency.
Structural vibration clue: If the ceiling around the fan lightly buzzes or you can feel vibration in the downrod/canopy, suspect loose mounting hardware or a canopy piece transferring vibration.
If the sound is a smooth electrical hum (not a rattle) or a whoosh of air, that points away from loose hardware. This article focuses on rattles caused by screws, brackets, and canopy trim ring vibration at motor speed.
What This Noise Usually Means
A ceiling fan rotates at a steady RPM, and even a minor looseness can turn normal vibration into an audible rattle. When blade screws, blade brackets, or the canopy trim ring aren’t clamped tight, the part is no longer rigidly bonded to the fan’s structure. The motor’s tiny vibrations then make the loose part micro-move and repeatedly tap a neighboring metal surface. Because that tapping is synchronized with rotation, the noise often sounds “fast,” “metallic,” and speed-dependent rather than random.
Most Common Causes (Ranked by Probability)
Loose blade-to-blade bracket screws
What happens: Screws holding each blade to its bracket back out slightly over time.
Symptom clue: Rattle comes from one side of the fan; you may hear a rapid tick that changes with speed.
Why it creates this noise: The blade shifts minutely and taps the bracket as the motor’s vibration and air load flex the blade.
Loose blade bracket (blade iron) to motor screws
What happens: The screws securing the brackets to the rotating hub loosen, letting the bracket “buzz” against the hub.
Symptom clue: Rattle is loudest at higher speeds; sometimes paired with mild wobble.
Why it creates this noise: A slightly loose bracket acts like a tuning fork, amplifying vibration at motor speed.
Canopy trim ring or canopy cover not fully seated
What happens: The decorative ring or canopy shifts and taps the mounting bracket or downrod.
Symptom clue: Rattle seems to come from the ceiling line; quiets if you lightly stabilize the canopy (fan off, then test after).
Why it creates this noise: Thin trim pieces resonate easily and “chatter” when not locked into place.
Loose mounting bracket screws at the ceiling box
What happens: The fan’s mounting bracket isn’t clamped firmly to the fan-rated box.
Symptom clue: You feel vibration in the ceiling area; noise may transmit into the room structure.
Why it creates this noise: Small movement at the mount turns the ceiling box and bracket into a rattle amplifier.
Downrod set screw (or coupling screw) slightly loose
What happens: The downrod-to-motor coupling isn’t fully tight, allowing micro-play.
Symptom clue: Rattle is centered above the motor housing; often worse at high speed.
Why it creates this noise: The downrod can tap within the coupling under cyclic load.
Light kit screws or fitter screws vibrating (if equipped)
What happens: Screws holding the light kit/fitter loosen and vibrate against the housing.
Symptom clue: Rattle seems to come from below the motor; may change if the light kit is gently steadied (power off before touching).
Why it creates this noise: The light kit adds mass and leverage, turning minor looseness into audible chatter.
Missing or incorrect washers on blade hardware
What happens: A washer is missing, compressed, or mismatched, so the screw doesn’t clamp the blade securely.
Symptom clue: One blade repeatedly “ticks” even after tightening; you may see a screw bottoming out before clamping.
Why it creates this noise: Without proper compression, the joint vibrates and slips under airflow load.
Canopy wire connection bundle touching the canopy
What happens: The wire bundle sits against the canopy and transfers vibration into the thin metal cover.
Symptom clue: Rattle appears after reinstalling the canopy; it’s localized at the ceiling cover.
Why it creates this noise: The canopy acts like a drum skin when lightly pressed by wires.
How to Check Safely Before Calling for Service
Turn the fan off and let it fully stop before touching anything. Confirm the wall control is off and the pull chain is off (if present).
Do a quick visual scan from a stable step ladder: look for a canopy that’s not flush, a trim ring that’s crooked, or a blade that sits lower than the others.
Hand-check for obvious looseness (fan off): gently try to wiggle each blade near the bracket. Any clicking or movement suggests loose blade screws or bracket screws.
Snug blade-to-bracket screws using the correct screwdriver. Tighten firmly but don’t strip the heads or crush the blade material.
Snug bracket-to-motor screws (the screws at the hub). If a screw keeps turning without tightening, stop and plan for service because threads may be stripped.
Reseat the canopy and trim ring: ensure the canopy is hooked/locked correctly to the mounting bracket and the trim ring is fully clipped or threaded as designed.
Check the downrod connection point (fan off): look for a visible gap or hardware that appears backed out. If you suspect a loose downrod set screw but can’t access it without disassembly, schedule a technician.
Listen for location: after tightening and reseating, run the fan on low then medium. Stand under the fan and then 6–10 feet away to identify whether the noise is from the ceiling (canopy) or from a blade position (blade/bracket).
Test one change at a time: tighten, then test. If you change multiple items at once, it’s harder to confirm the true source.
Check for ceiling box movement (no disassembly): with the fan off, lightly push the motor housing side-to-side. Any noticeable movement at the ceiling indicates mounting concerns and warrants professional inspection of the fan-rated box and fasteners.
If tightening and reseating stops the rattle but it returns quickly, the joint may have worn threads, missing washers, or a mounting issue that needs a technician’s hardware replacement or correction.
Normal Operating Sound vs Warning Signs
Normal: soft airflow “whoosh” at high speed; faint motor sound that does not include metallic ticking; no noticeable vibration in the ceiling.
Likely hardware rattle (address soon): fast tick/rattle that increases with speed; noise localized to one blade/bracket or the canopy area; improves after tightening or reseating.
Warning signs (stop and inspect): a new rattle that appears suddenly and is loud; wobble that visibly increases; vibration felt in the ceiling or downrod; speed instability (surging); any burning smell or unusual heat from the switch area.
Progression clue: if the rattle gets louder over days/weeks, a screw may be backing out or a bracket/canopy piece may be wearing at the contact point.
When Professional Service Is Recommended
The ceiling box or mounting feels loose when lightly pushing the fan (fan off). A technician can verify a fan-rated box, correct fasteners, and proper mounting bracket installation.
Screws won’t tighten (spinning/stripped threads) at blade brackets, hub, or mounting points. This often requires replacement hardware or a bracket/hub repair.
The rattle persists after tightening and reseating and you can’t confidently locate the contact point.
There’s significant wobble along with the rattle, especially if it worsens at higher speed.
The canopy area is difficult to access safely due to ceiling height, angled ceilings, or an unstable ladder setup.
Any electrical concern accompanies the noise (speed control behaving oddly, buzzing at the wall control, heat, or odor). A licensed electrician or qualified fan technician should inspect wiring and controls.
How to Prevent This Problem
Recheck all accessible screws 2–4 weeks after installation, then annually, because new installations can “settle” slightly.
Use the correct screwdriver bit to avoid cam-out and partially tightened screws that loosen faster.
Confirm the canopy and trim ring are fully locked after any cleaning or bulb change.
Avoid over-tightening into wood/composite blades, which can crush material and reduce clamping force over time.
Keep blades clean so airflow load stays consistent and doesn’t add extra vibration that works hardware loose.
Run the fan on a stable, compatible control designed for ceiling fans. Incompatible controls can increase vibration, which can aggravate loosening hardware.
At the first hint of a new tick, tighten before the joint wears or threads strip.
Related Fan & Ventilation Noise Problems
Ceiling fan humming but not rattling (often control or motor-related, not blade screws)
Ceiling fan clicking once per revolution (blade screw/washer contact or bracket tap)
Ceiling fan wobbling without noise (balance issue rather than loose canopy)
Ceiling fan scraping sound near the canopy (canopy rubbing the mounting bracket)
Ceiling fan buzzing at certain speeds only (resonance from slightly loose trim ring or bracket)
Ceiling fan light kit rattling (loose fitter screws or shade retention hardware)
Ceiling fan pull chain tapping the glass (chain length/position, not motor failure)
Ceiling fan ticking after blade cleaning (blade screws disturbed or blades re-seated unevenly)
Ceiling fan vibrating the ceiling sheetrock (mounting bracket/box amplification)
Ceiling fan makes noise only on high (loose bracket-to-hub screws or canopy chatter)
Ceiling fan makes a rhythmic metal clink (loose blade bracket contacting the hub)
Ceiling fan rattles then stops when speed changes (speed-specific resonance of canopy ring)
Conclusion
Most ceiling fan rattling comes from loosened blade screws, blade brackets, or a canopy trim ring that’s vibrating in sync with the motor. Turning the fan off and snugging the blade and bracket fasteners, then reseating the canopy/trim ring, solves the majority of cases. If you detect ceiling box movement, stripped screws, or escalating wobble, schedule professional service to correct mounting or replace worn hardware. A stable mount prevents the rattle from coming back.
Frequently Asked Questions
Is it safe to run a ceiling fan that’s rattling?
If the rattle is light and you can’t see wobble, it’s usually a loose hardware issue, but it should still be addressed promptly to prevent wear. If the fan wobbles noticeably, the ceiling box/mount feels loose, or the noise suddenly became loud, turn it off and arrange a technician to inspect the mounting and hardware.
What does it typically cost to fix a ceiling fan rattle?
If it’s only tightening accessible screws and reseating the canopy, the cost is often minimal or a basic service call. If the ceiling box isn’t fan-rated, threads are stripped, or brackets/hardware need replacement, the repair cost increases because parts and labor are more involved. A technician can confirm whether it’s a simple tighten-and-secure job or a mounting correction.
Can I use thread locker on blade screws to stop the rattle?
In many cases, properly tightening with the correct washers is enough. A small amount of removable (low-strength) thread locker can help if screws repeatedly loosen, but avoid permanent formulations and avoid getting product on blade material. If screws won’t stay tight because threads are worn, thread locker is not a real fix and the hardware should be replaced.
How can I tell if the sound is electrical hum or loose hardware rattle?
A hardware rattle is usually a sharp tick/chatter that changes clearly with speed and often seems directional (one blade area or the canopy). Electrical hum is smoother and more constant in tone, and it may be more noticeable at the wall control than at the fan. If you have a metallic tapping sound, start with blade screws, blade brackets, and canopy seating before suspecting an electrical fault.
Do I need to replace the ceiling fan if it keeps rattling?
Not usually. Persistent rattling is commonly caused by stripped screws, missing washers, a loose mounting bracket, or a canopy piece that won’t lock correctly. Replacing the affected hardware or correcting the mounting often resolves it. Replacement becomes more likely if the fan has damaged hubs/brackets that can’t be secured reliably.
What’s a good temporary workaround if I can’t service it today?
Set the fan to off until you can tighten the hardware. If you must use it for airflow, run it only at the lowest speed that does not rattle and avoid leaving it unattended. Temporary measures shouldn’t replace tightening and confirming the canopy and mounting are secure.
What surprised me most wasn’t the fix—it was how quickly the noise faded once the shape of the problem was finally accepted. The world didn’t get bigger or more dramatic, just clearer.
So the next chapter feels less like chasing and more like showing up. Not grand, not glamorous, but genuinely livable—and that’s the rare kind of progress.